Gibbon’s PLUG & PLAY solutions are designed to get educators, and content creators, ‘online ready’ with their own (branded) platforms. Gibbon offers a number of ‘Add-Ons’ to customize services, and to ensure that clients have their own ‘branded’ platform in every sense of the word.
One of the Add-On offered by Gibbon is the facility of creating a ‘Brand Logo’. Logo Design Add-On involves a team of Gibbon’s Digital Marketing professionals & skilled Graphics Artists. Through their combine efforts, the team delivers a ‘catchy’, visually appealing Logo to establish brand identity and build recognition. Educators can even upload their own Logo on their portal. This article will cover the basics of Logo Design, and Upload facility offered by Gibbon.
NOTE:
This is a ‘paid’ Add-On of Gibbon, unlocked on subscription.
Regarding any queries:
– Contact EduGorilla’s Support Team on the number: (+91–6393209453)
– Write a mail to [email protected]
– Contact EduGorilla’s Sales Representative
Prerequisites
- Clients must have ‘Admin Access’ to the portal/website.
- Clients must have activated the Add-On service for the portal/website.
Can Gibbon create a Brand Logo on request?
Yes. In fact this particular service of creating a custom Brand Logo is offered as Logo Design Add-On to clients. Gibbon’s Marketing Team ensures that the Logo created is unique to the brand, and communicates the integral value of the business.
Where will the Logo be displayed on the client’s website?
Normally, client’s Logo is displayed at three places on the client’s website.
- Favicon Icon – Logo is displayed as an icon on the browser tab.
- Header – Logo is displayed at the top of every page in the website.
- Footer – Logo is displayed at the bottom of every page in the website.
Can clients upload their own Logo on their website?
Yes. Gibbon portals have Update Site Info facility where the clients can upload their existing Logos as Header, Footer, and Favicon
How to upload Logo on the website?
The process of uploading Logo on the portal is a simple one. Just follow the steps given below.
Step 1: Access the Admin Panel of the website. (Watch this video to know how)

Step 2: Follow the path given below
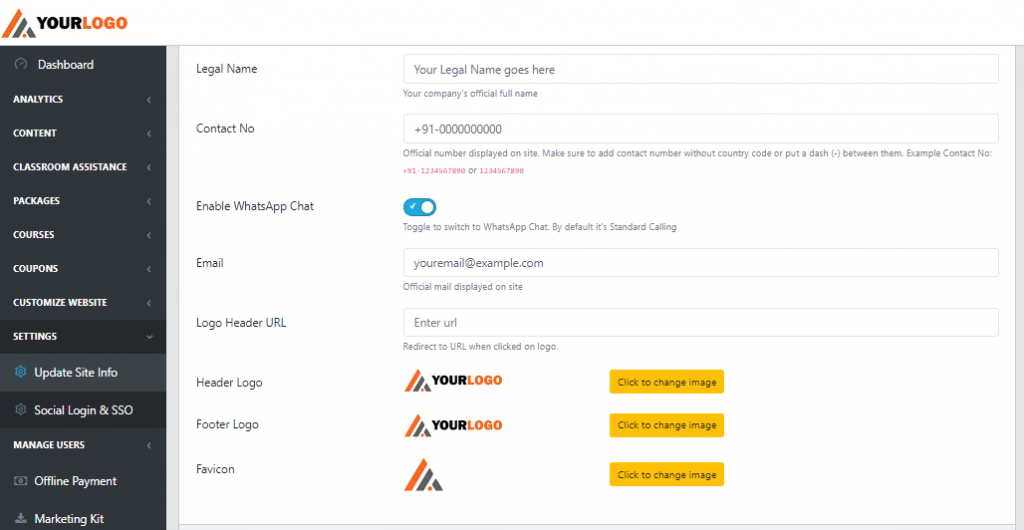
Path: Dashboard> Settings > Update Site Info
Step 3: Choose Click to Change Image option for Header, Footer or Favicon.
Step 4: Option would change to Choose File
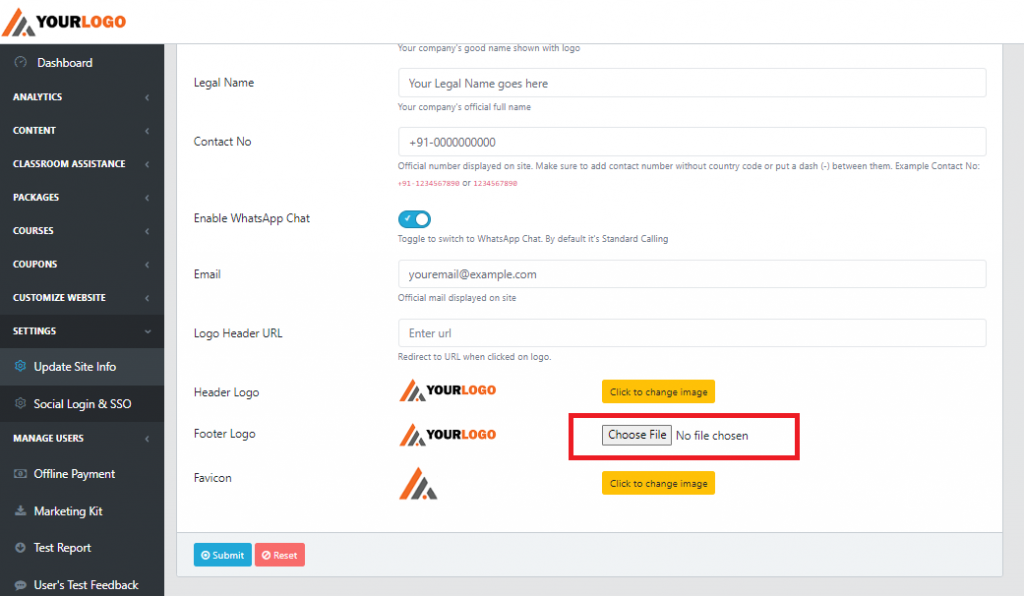
Step 5: Choose a file to upload from the local disk.
Step 6: Click on Submit button to save the changes.
That was all about the Logo Design Add-On. For clients who want to see how the Logos would be displayed on the Homepage, check out the video given below.
In case clients still have any doubt or want to enable any Feature or Add-on for their portal, please do:
- Contact EduGorilla’s Support Team on the number: (+91–6393209453)
- Write a mail to [email protected]
- Contact EduGorilla’s Sales Representative


