
Gibbon’s PLUG & PLAY services are a one stop solution for all the needs of an educator or content creator. Gibbon offers multiple Add-Ons to educators, so that they pay only for the services they want.
Gibbon E-Library is one of the Add-On offered to the clients. E-Library facilitates educators to create their own ‘E-Book Learning Courses’ by uploading e-books, and to offer EduGorilla’s Ready Made Courses to students. Moreover, the e-book courses can be delivered as either free of cost or be made available upon purchase. The steps to upload an e-book, and create e-book courses are given below.
NOTE:
This is a ‘paid’ Add-On of Gibbon, unlocked on subscription.
Regarding any queries:
– Contact EduGorilla’s Support Team on the number: (+91–6393209453)
– Write a mail to [email protected]
– Contact EduGorilla’s Sales Representative
Prerequisites
- Clients must have ‘Admin Access’ to the portal/website.
- Clients must have activated the Add-On service for the portal/website.
How to Create Your Own E-Book Courses with Gibbon’s E-Library?
Clients can create their own e-book/ study notes courses by upload their own books and study notes to the e-library.
A handy video on how to upload & create E-Book courses is attached below.
Read below for step by step instructions for the same.
STEP 1: Access the Admin Portal of the Website.
The first step is to access the admin portal. For this just type the URL of the Whitelabel site, and Log in using Admin Credentials.
After successful login, the silence name would be visible on the same spot for ‘login button’. Click on it & select ‘Admin Panel’ Option.
STEP 2: Navigate to the E-Library Section
Now visit the Dashboard through Admin Portal, and select the ‘E-Library’ option. The path is given below.
Path: Admin Panel > Courses > E-Library
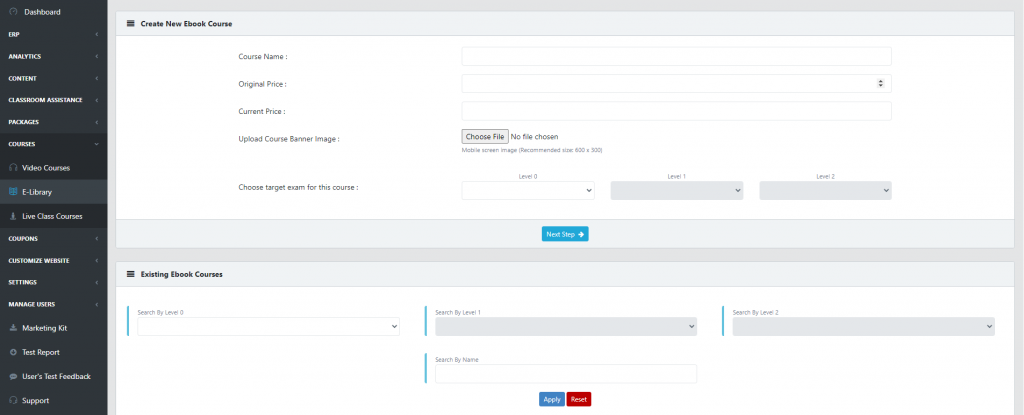
STEP 3: Set Price, Upload Banner, and Choose Target Exam
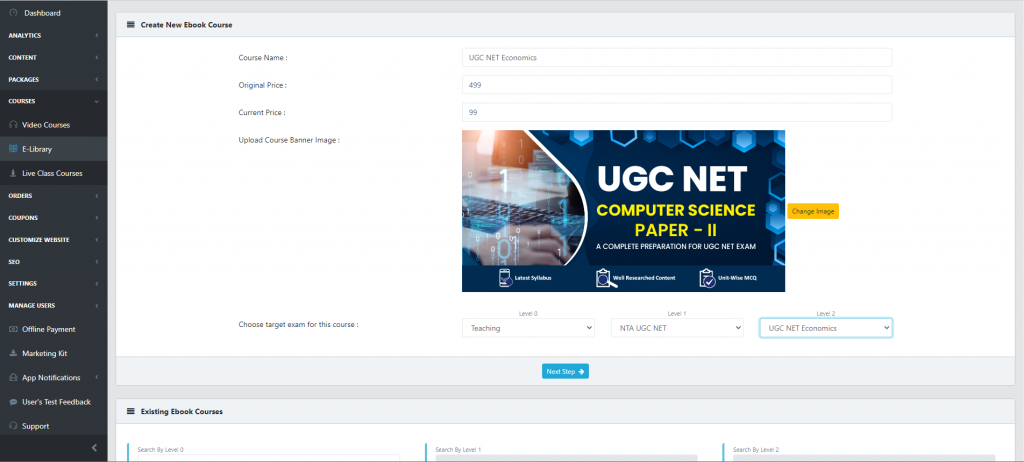
- To make your ebook courses more lucrative with the ‘perception’ of a discount, you have to enter ‘Original Price’ , and then the ‘Current Price’.
- E-Books can also be made ‘Free’ as detailed in Step 3 & Step 4 below.
- The option to upload Banners gives a ‘visual touch’ and ‘distinction’ to a particular course, when it is listed with others on your website. Next you have to decide the exam which the course will target.
Step 3: Add More Books, and Create Course
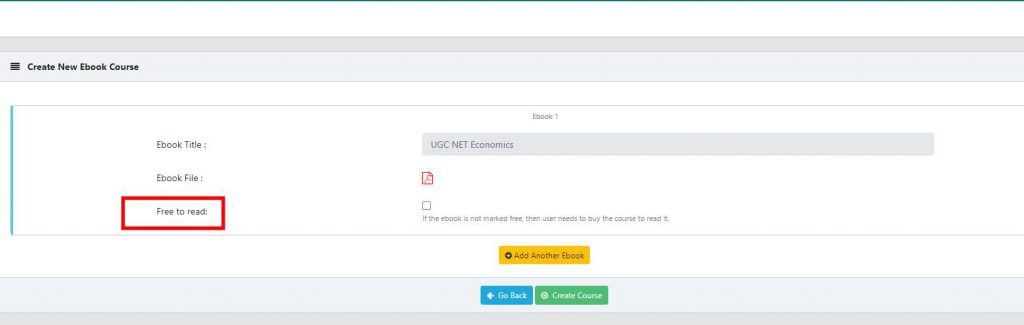
- You can add more books to your course though ‘Add Another book Button’. For each added book you will have the option to mark it as ‘Free to Read’.
- Each book in a particular course, which is ‘free to read’ will be accessible by your students without any cost.
- Finish creating the course by clicking ‘Create Course Button’. Your course would be listed in the ‘Existing Courses’ section below.
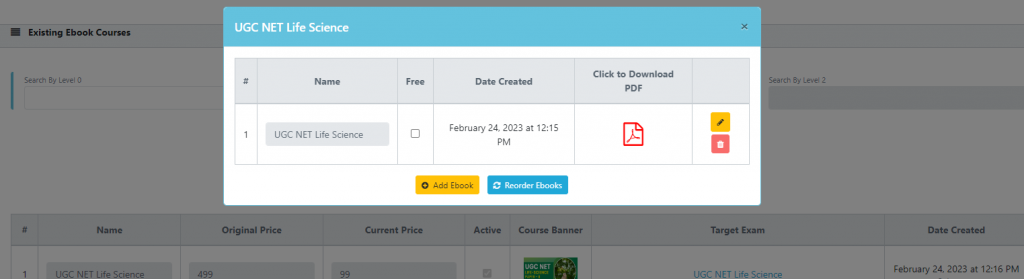
Step 4: Activate/De-Activate the Course, and Modify Contents
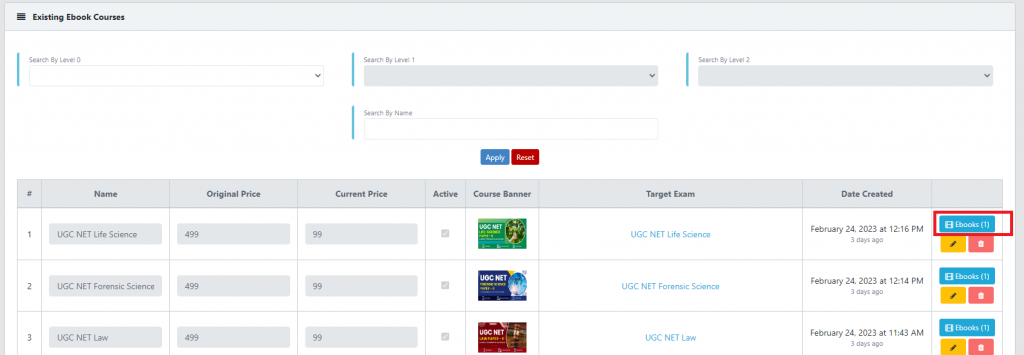
- Once your course has been created, you would have the option of marking it as ‘Active’. Checking the ‘Active’ option makes the course visible to your students, and deselecting the option hides the course.
- Clicking on the Ebooks option would open a popup where you can see the books included in the course. You can Add new books, or mark existing books as Free.
With the last step the E-Book course Creation is complete.
In case clients still have any doubt or want to enable any Feature or Add-on for their portal, please do:
- Contact EduGorilla’s Support Team on the number: (+91–6393209453)
- Write a mail to [email protected]
- Contact EduGorilla’s Sales Representative


